I do not issue any guarantee that this will work for you!
1 Preliminary Note
This tutorial is based on CentOS 7.0 server, so you should set up a basic CentOS 7.0 server installation before you continue with this tutorial. The system should have a static IP address. I use192.168.0.100 as my IP address in this tutorial andserver1.example.com as the hostname.
2 Installation
To start the installation of Tomcat we need to first install java-1.7.0-openjdk.x86_64, we will install it as follows:
yum install java-1.7.0-openjdk.x86_64
Check the version of java as follows:
java -version
[root@server1 ~]# java -version
java version "1.7.0_65"
OpenJDK Runtime Environment (rhel-2.5.1.2.el7_0-x86_64 u65-b17)
OpenJDK 64-Bit Server VM (build 24.65-b04, mixed mode)
[root@server1 ~]#
Proceeding further we need some essential packages. CentOS don't come with ifconfig command, so we will install net-tools and other packages as follows:
yum install net-tools unzip wget
Now we will download the latest Tomcat version from its home page and install it as:
cd /opt
wget http://ftp.nluug.nl/internet/apache/tomcat/tomcat-8/v8.0.9/bin/apache-tomcat-8.0.9.zip
unzip apache-tomcat-8.0.9.zip
mv apache-tomcat-8.0.9 tomcat
Unzip it and set the environment variables by creating a file script.sh in/etc/profile.d/ as:
vi /etc/profile.d/script.sh
Give the entries as follows:
#!/bin/bash
CATALINA_HOME=/opt/tomcat
PATH=$CATALINA_HOME/bin:$PATH
export PATH CATALINA_HOME
export CLASSPATH=.
Now we will give execute permissions to the file:
chmod +x /etc/profile.d/script.sh
Further we will make the environment variables permanent as by running:
source /etc/profile.d/script.sh
Again before starting Tomcat service, we will provide executable permissions to following files:
chmod +x $CATALINA_HOME/bin/startup.sh
chmod +x $CATALINA_HOME/bin/shutdown.sh
chmod +x $CATALINA_HOME/bin/catalina.sh
Now we need to start Tomcat service by using:
$CATALINA_HOME/bin/startup.sh
[root@server1 ~]# $CATALINA_HOME/bin/startup.shUsing CATALINA_BASE: /opt/tomcat
Using CATALINA_HOME: /opt/tomcat
Using CATALINA_TMPDIR: /opt/tomcat/temp
Using JRE_HOME: /usr
Using CLASSPATH: /opt/tomcat/bin/bootstrap.jar:/opt/tomcat/bin/tomcat-juli.jar
Tomcat started.
[root@server1 ~]#
It will start the Tomcat server, we can also check by using:
netstat -an | grep 8080
[root@server1 ~]# netstat -an | grep 8080tcp6 0 0 :::8080 :::* LISTEN
[root@server1 ~]#
In CentOS 7.0 we have different policy for the firewall-cmd, we will override it by using:
firewall-cmd --zone=public --add-port=8080/tcp --permanent
firewall-cmd --reload
Setup User account
Finally we need to create user accounts to secure and access admin/manager pages. Edit conf/tomcat-users.xml file in your editor and paste inside <tomcat-users> </tomcat-users> tags
vi $CATALINA_HOME/conf/tomcat-users.xml
[...]
<!--
  NOTE:  The sample user and role entries below are wrapped in a comment
  and thus are ignored when reading this file. Do not forget to remove
  <!.. ..> that surrounds them.
-->
<!--
  <role rolename="tomcat"/>
  <role rolename="role1"/>
  <user username="tomcat" password="tomcat" roles="tomcat"/>
  <user username="both" password="tomcat" roles="tomcat,role1"/>
  <user username="role1" password="tomcat" roles="role1"/>
-->
<role rolename="manager-gui"/>
 <role rolename="manager-script"/>
 <role rolename="manager-jmx"/>
 <role rolename="manager-status"/>
 <role rolename="admin-gui"/>
 <role rolename="admin-script"/>
 <user username="admin" password="admin" roles="manager-gui,manager-script,manager-jmx,manager-status,admin-gui,admin-script"/>
</tomcat-users>
In above configuration I have used username=admin and password=admin, you can make the changes as per your choice. Then we need to stop/start the Tomcat service:
cd $CATALINA_HOME
./bin/catalina.sh stop
Using CATALINA_BASE: /opt/tomcat
Using CATALINA_HOME: /opt/tomcat
Using CATALINA_TMPDIR: /opt/tomcat/temp
Using JRE_HOME: /usr
Using CLASSPATH: /opt/tomcat/bin/bootstrap.jar:/opt/tomcat/bin/tomcat-juli.jar
[root@server1 tomcat]#
Then start the service:
./bin/catalina.sh start
[root@server1 tomcat]# ./bin/catalina.sh startUsing CATALINA_BASE: /opt/tomcat
Using CATALINA_HOME: /opt/tomcat
Using CATALINA_TMPDIR: /opt/tomcat/temp
Using JRE_HOME: /usr
Using CLASSPATH: /opt/tomcat/bin/bootstrap.jar:/opt/tomcat/bin/tomcat-juli.jar
Tomcat started.
[root@server1 tomcat]#
Now access the page for login at http://192.68.0.100:8080
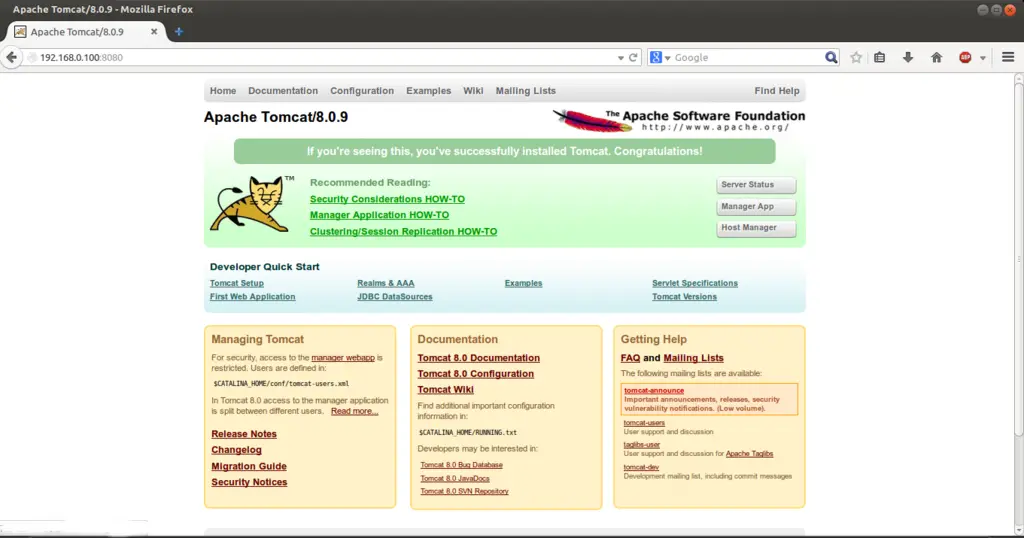
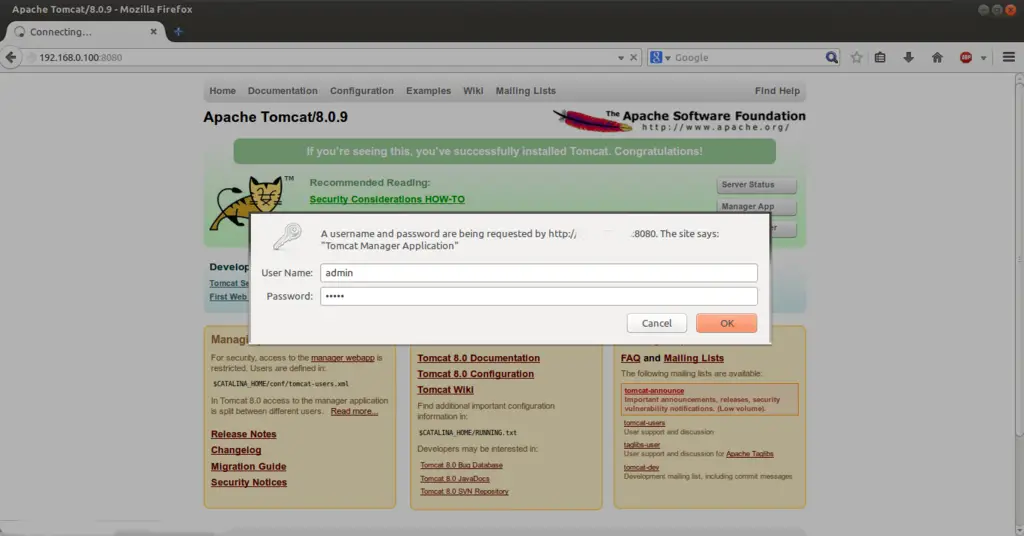
Your login password for the administrative right are as username=adminand password=admin. Click on Manager App:
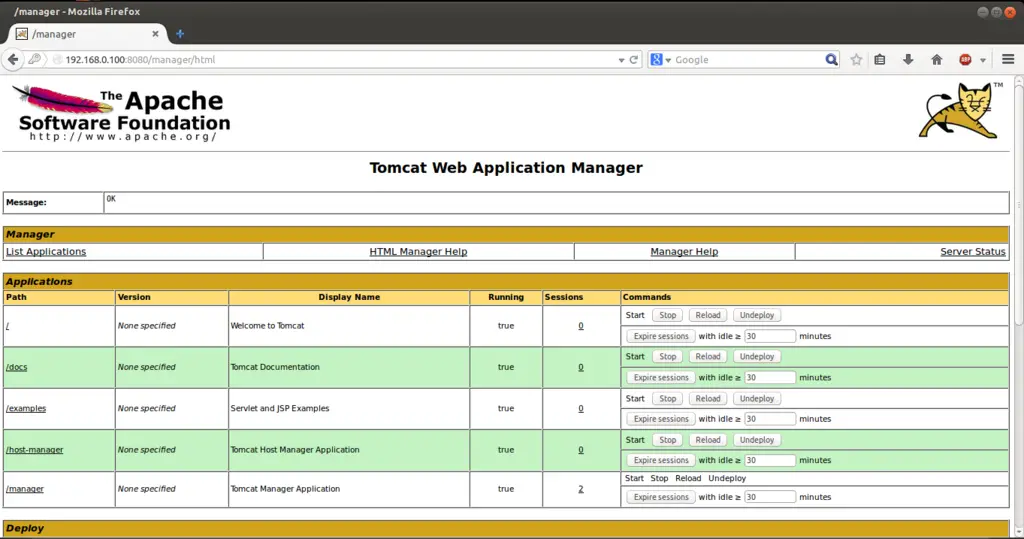
Congratulations we have a working Tomcat Server installed in CentOS 7.0:)
출처 : https://www.howtoforge.com/how-to-install-tomcat-on-centos-7
'Skills > Web' 카테고리의 다른 글
| jQuery.get() (0) | 2016.01.05 |
|---|---|
| jQuery를 이용한 Modal 생성 (0) | 2015.12.31 |
| Installing MySQL Server on CentOS (0) | 2015.09.23 |
| CentOS - Apache and PHP Install (0) | 2015.09.23 |
| CentOS 64bit APM 소스 설치 (0) | 2015.09.23 |
댓글